![](https://www.creasingmatrix.com/wp-content/uploads/2020/03/CORRUGATED-uai-258x182.jpg)
A simple guide to installing your new Matrix
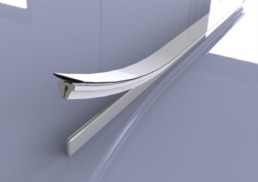
Step 1 - Cut the Matrix to suit length of creasing rule
![](https://www.creasingmatrix.com/wp-content/uploads/2020/03/CUT-MATRIX-TO-LENGTH-uai-258x182.jpg)
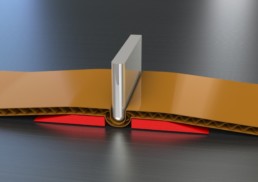
Step 2 - Place Matrix on to creasing rule using precision locator
![](https://www.creasingmatrix.com/wp-content/uploads/2020/03/POSITION-MATRIX-OVER-RULE-uai-258x182.jpg)
Step 3 - Remove backing tape to expose adhesive surface
![](https://www.creasingmatrix.com/wp-content/uploads/2020/03/REMOVE-BACKING-STRIP-uai-258x182.jpg)
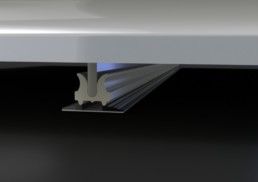
Step 4 - Lock die in to press and make one impression to transfer Matrix on to Platen
![](https://www.creasingmatrix.com/wp-content/uploads/2020/03/LOCK-DIE-INTO-PRESS-uai-258x182.jpg)
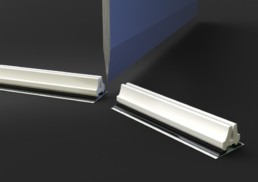
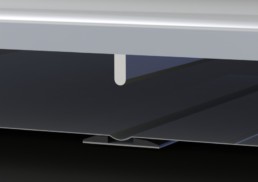
Step 5 - Remove locator simply by twisting end then pulling upwards
![](https://www.creasingmatrix.com/wp-content/uploads/2020/03/REMOVE-LOCATOR-STRIP-uai-258x182.jpg)
Step 6 - Position board and active once impression to test
![](https://www.creasingmatrix.com/wp-content/uploads/2020/03/POSITION-BOARD-AND-ACTIVATE-uai-258x182.jpg)
Contact
Contact us for sales, support, or general inquiries.